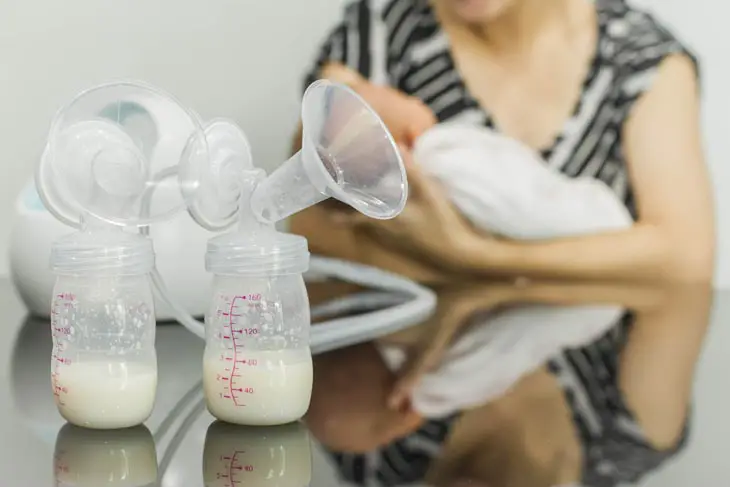
You intend to buy a Spectra breast pump and want to learn more about how to use a Spectra breast pump.
Or maybe, you already own the one yet don’t know how to use it properly. No worries, you’re not alone.
Many mums used to apply the wrong installation, which is partially why they don’t get milk as expected.
If you get the same problems, it’s time to find out the correct way to use this useful machine for taking care of your babies.
This blog will discuss how to use spectra properly to reach the maximum milk pump output. Dig into specific information now.
How Many Main Spectra Breast Pumps? Key Difference Between Them?
When it comes to breast pump models, there are two key Spectra pumps in the current market: Spectra breast pump S1 and Spectra S2.
There are several key differences between these two Spectra S2 and S1 pumps.
- The S2 is pink, and the S1 is blue.
- The S2 doesn’t have an integrated battery pack, unlike the S1
- You can utilize the Spectra S1 without putting the plugin on the wall.
- The Spectra breast pump S2 doesn’t have an integrated battery pack, so it needs to be plugged into the wall for power.
The instruction below will guide you how to use a breast pump spectra. It’s not how to use a spectra s2 breast pump or S1 pump alone.
How To Use A Spectra Breast Pump?
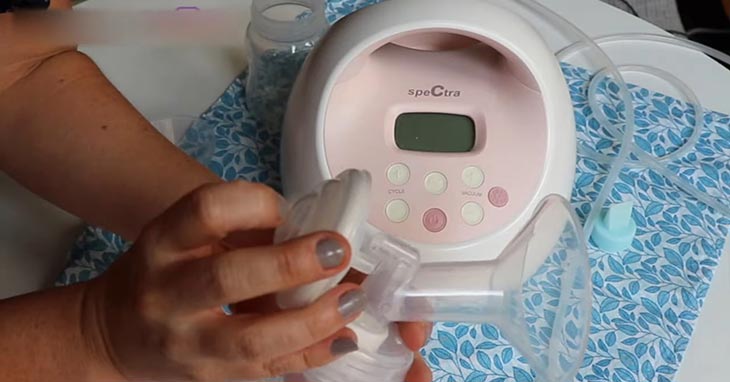
Step 1: Assemble A Breast Pump
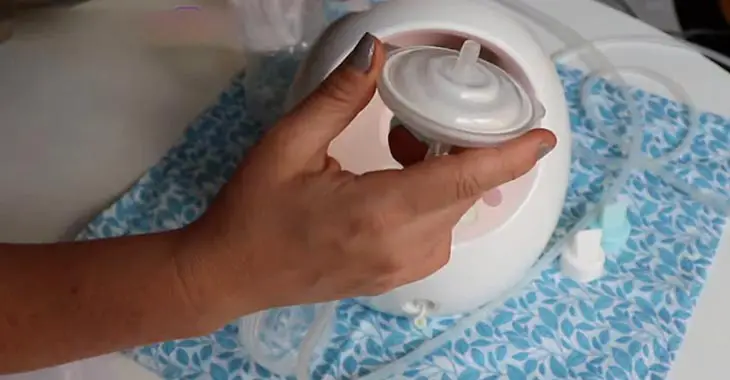
Begin by assembling a back-flow protector. This part has three pieces, including two pieces of transparent plastic and one white silicone slide.
Place the white slice on the piece of transparent plastic. After that, snap the silicone piece with its other side over the transparent plastic piece.
You should put the silicone slide between the two transparent pieces. The breast shield will link into the bigger nub on its back-flow protector.
The back-flow part fends any milk off leaking from the chest shield into this tool. Specifically, the silicone slides and plastic slides make a fence between the tubing and the chest shield.
This structure keeps the machine staying sanitary and clean. Besides, it stops the growth of mold in the pump motor and tubing.
Step 2: Connecting The Pump With The Tubing
Two parts of tubing come with the machine accessory set. If you’re double pumping which means you drive both your breasts at once, you need to utilize both tubing sections.
To carry out this machine, detach the light cap from your tool. Link the one end of this tubing to your tool. Let’s repeat the steps with the other piece of its tubing.
If you’re single-pumping, you will just use one piece of tubing.
Step 3: Assemble The Breast Shield, Duckbill Valves, and Bottle
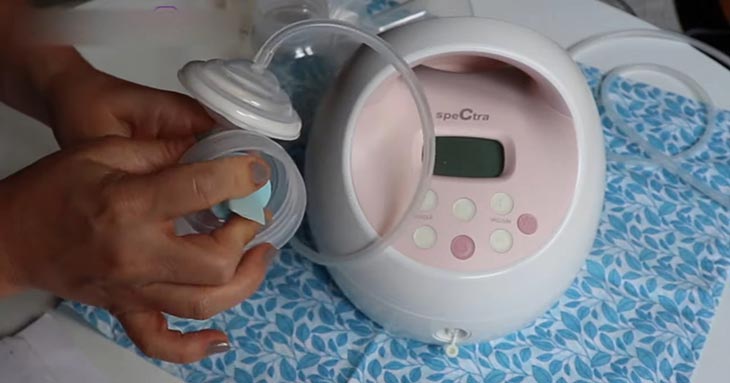
First, screw the duckbill valves in the chest shield. Then, screw a bottle into the shield. Do the same things if you intend to do a double pump to get a double full setup.
A duckbill valve plays an important role in the installation. The part will control a load of breast milk on the machine. The valve should be checked frequently and replaced every 2- 4 weeks.
Over time the duckbill part will become worn out and loose from utilizing the instrument and sterilizing and washing the machine sections.
It is not hard to notice a bit-by-bit reduction in a load of suction pumping at each session when it turns loose.
Step 4: Link The Back-Flow Protectors To The Breast Shields
As mentioned above, the end of this back-flow protector is linked to tubing. Put the other end of the protector and twist it to the breast shield. This operation should fit adequately.
Now, all the item sections are almost set up and fully operational.
Put the plugin on the wall. The other end comes in the mini hole on the Spectra breast pump’s side. Once finishing all these small tasks, the pump is ready to begin driving.
Don’t forget to check your Spectra machine before pumping. You are likely set up properly if you can see the silicone part in the back-flow protector.
It will pulse out and in because of the atmospheric pressure from your machine.
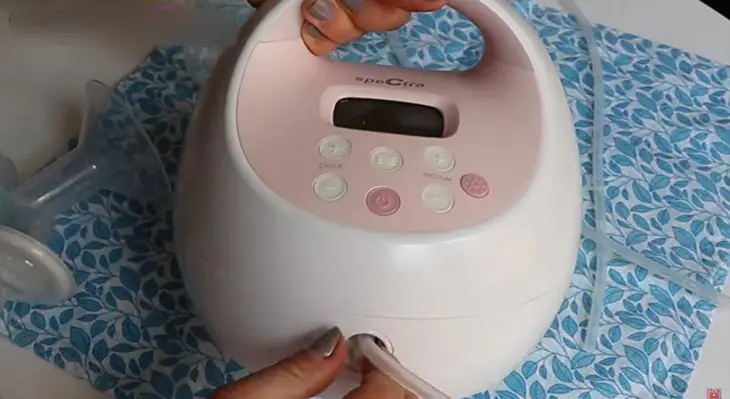
Step 5: Begin Pumping with LetDown Mode
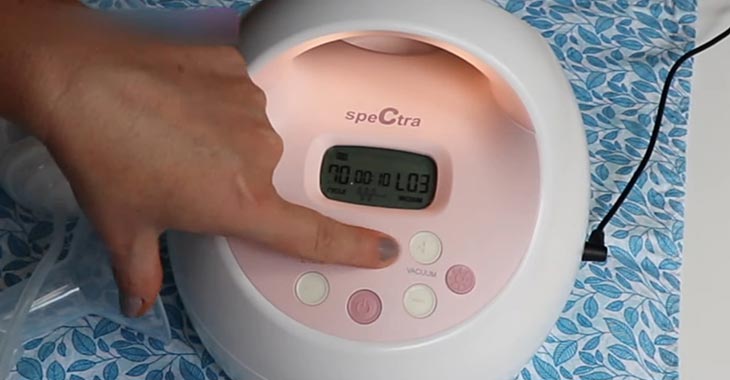
To commence pumping, push the power button at the center with a circle- form and a hash sign to turn on your pump. Then, it would help if you began off by driving at the let-down button.
To run this mode, get a load of the knob with wavy lines at the center. Press the button, and then the digital panel will display “70”.
You can feel free to adjust the suction speed to reach the comfort level. The highest degree of suction on cycle “70” is 5, and the lowest cycle speed is 1 level.
Beginning with the first level and gradually increase the drive till you’re uncomfortable. Whenever you feel annoyed with the existing level, go back to the previous one.
Level 4 on cycle 70 was often the most pleasant for most moms while at the let-down operation. Yet, this might change subjecting to how swell your breasts are.
After using this for a few months or weeks, you might discover that you’re more pleasant plumping at certain comfortable suction levels of drive while “using Spectra breast pump”.
Step 6: Change to Expression Mode
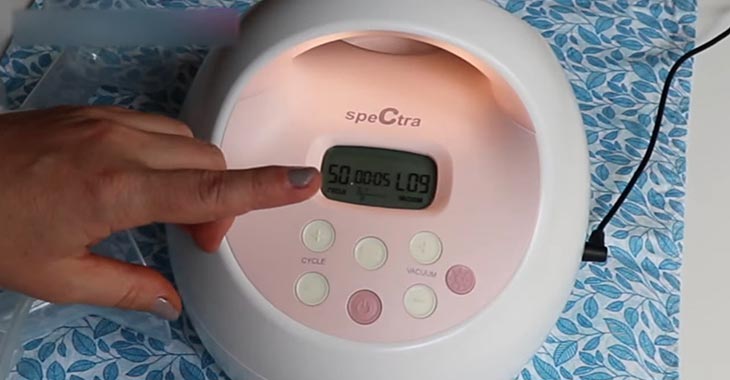
Anytime you find out or see that your milk starts flowing, change the mode to expression one, for instance, cycle 54.
This level is a moderately slower cycle speed. Once the speed gradually drops, you will need to raise the suction level.
To switch the cycle speed, simply push the button having some wavy lines. After that, press the minus or plus buttons to reach cycle 54.
It also offers the vacuum level control of suction. At this expression mode, the highest level of suction might reach up to level 12.
You might start with level 5 and gradually increase it until feeling a bit painful. After that, lessen the volume back to a certain mode until you’re comfortable again.
Keep this pace and this vacuum level till your milk ceases flowing. Then it stops, turning back to the let-down operation by pushing the power button with some wavy lines.
Step 7: Keep Pumping Until Empty
You may keep pumping for at least 15- 25 minutes. If your milk ceases flowing, try changing back to the cycle 70/ let down mode.
As this cycle reduces speed, you should consider increasing the vacuum degree of suction to optimize the amount of your milk you can pump.
For instance, if you’re in cycle 54, you can pump at degree 6. In cycle 70, you may choose level 4. Moreover, when utilizing cycle 46, you can pump at level 8.
This mechanism imitates how a newborn will suck in the case of direct nursing. At first, an infant will begin at a quick pace.
After your milk begins flowing, the kid will switch to strong, slow sucks to drive full of the milk.
Tada, from now on, some common queries about “how to work spectra breast pump?” are not challenges to you anymore.
Final Thoughts

If we still have your company until these bottom lines, we bet you have no doubt reached the great details in how to use a spectra breast pump.
During this implementation, mums need to pay more attention to every step to maximize the anticipated milk, especially the first step to avoid a chapter of mistakes later on.
There are still good young moms who haven’t had much experience in how to pump. Thus, they need these useful tricks like this.
Apart from learning how to use a spectra breast pump, you should know how to keep your baby warm at night to ensure perfect condition.
Sharing is caring – don’t stop bringing those guides to those who have the same curiosity.